
So, you’ve built your first HTML website on your computer.
Maybe it’s a portfolio, maybe a business site, maybe just a “Hello World” test.
It works perfectly when you open it in your browser.
But there’s a problem… only you can see it.
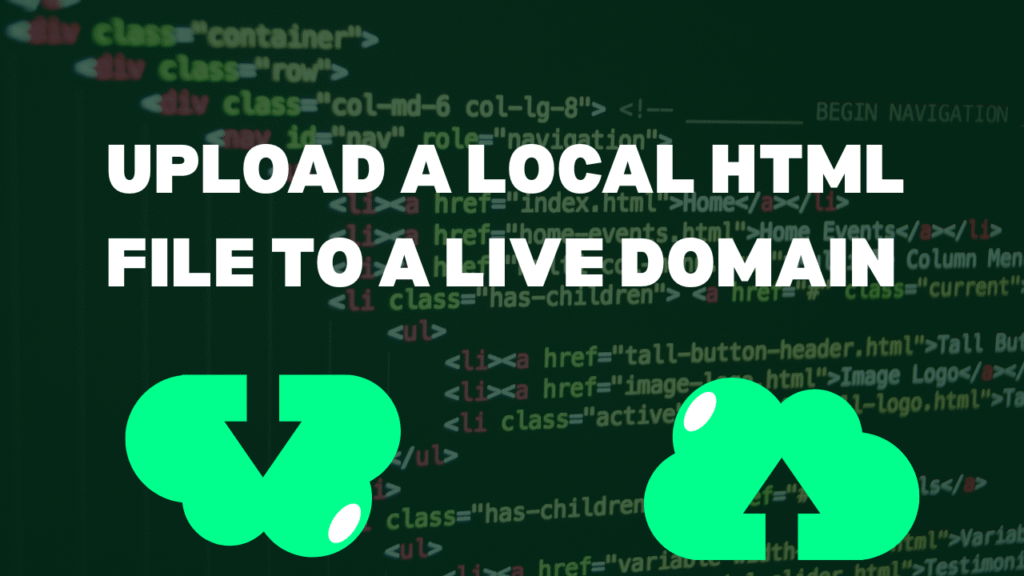
To show the world, you need to upload it to a live domain.
Here’s how. 🚀
Step 1: Buy Domain & Hosting
- Domain: Your website’s name (like
mycoolsite.com). - Hosting: The server space where your HTML files live.
👉 If you already have a domain + hosting, skip to the next step.
Step 2: Prepare Your HTML Files
- Make sure all your files (HTML, CSS, JS, images) are in one folder.
- Your homepage must be named
index.html— because servers look for that by default.
Example folder structure:
index.html
about.html
style.css
script.js
/ images
Step 3: Upload via Hosting Control Panel (File Manager)
Most hosting providers (like Hostinger, Bluehost, SiteGround) give you a cPanel or hPanel.
- Login to your hosting account
- Open File Manager
- Go to the folder called public_html (or root folder)
- Upload all your HTML files & folders there
💡 Tip: If you have many files, compress them into a .zip file and upload → then extract inside public_html.
Step 4: Upload via FTP (Optional Method)
If you like using software, try FileZilla (FTP Client).
- Download & install FileZilla
- Enter your hosting FTP credentials (found in hosting dashboard)
- Host: your domain name (e.g.,
ftp.mycoolsite.com) - Username & Password (from hosting)
- Port: 21
- Host: your domain name (e.g.,
- Connect and upload files to the
public_htmlfolder
Step 5: Test Your Website
Now type your domain (e.g., mycoolsite.com) into a browser.
🎉 Your HTML site should be live!
If you don’t see it, try:
- Clearing browser cache
- Checking file names (case-sensitive on servers)
- Making sure your
index.htmlis in the root folder